vSphere on Linux FTW
I started reading my copy of “VCP 5 Official Cert Guide” from VMware Press and I read something that stopped me right in my tracks. Starting with version 5, VMware began offering vCenter as a Linux appliance. My initial reaction when I read that Cisco was moving to Linux appliances for CallManager was negative. I’ve installed RHEL and other flavors of Linux and it is for the die hards. Maybe it is because I just haven’t been trained on it, but nothing seems as simple with Linux as with Windows. The point is not Windows is better than Linux, rather it is a bit of a scary step to move to a platform that would seemingly make things more complex. We’ve got more complexity than anyone could ask for. In this case though, I am sold. VMware, just as Cisco before them, managed to make a Linux appliance where you don’t really need to know Linux.
Outside of the stability and simplicity afforded here, there is one other thing to consider: $$$. By taking advantage of this free resource, you no longer need to burn a Server 2008r2 license to have vCenter. Outside of the enterprise savings here, it also means the process will be easier for the more nerdy among us to install this in VMWorkstation (or similar).
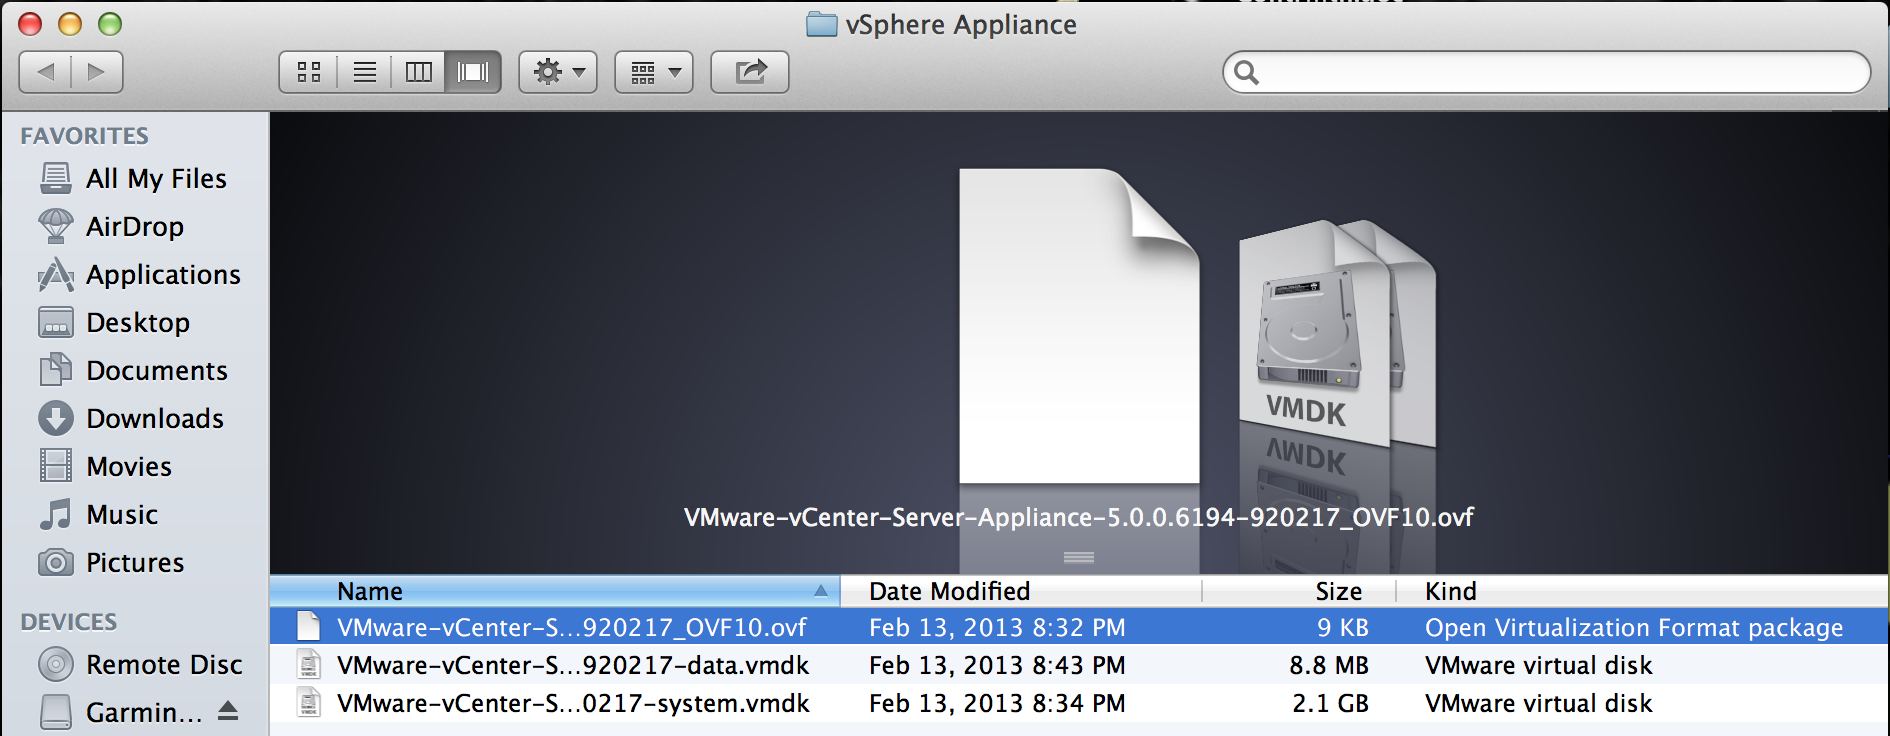
To start things off, logon to the VMWare site and download three files. All of these files need to be placed in the same folder. It should look something like this:
After you’ve got your three files in the same folder, go into your VMware application and import your OVF. This will automate the creation of your vCenter Appliance.
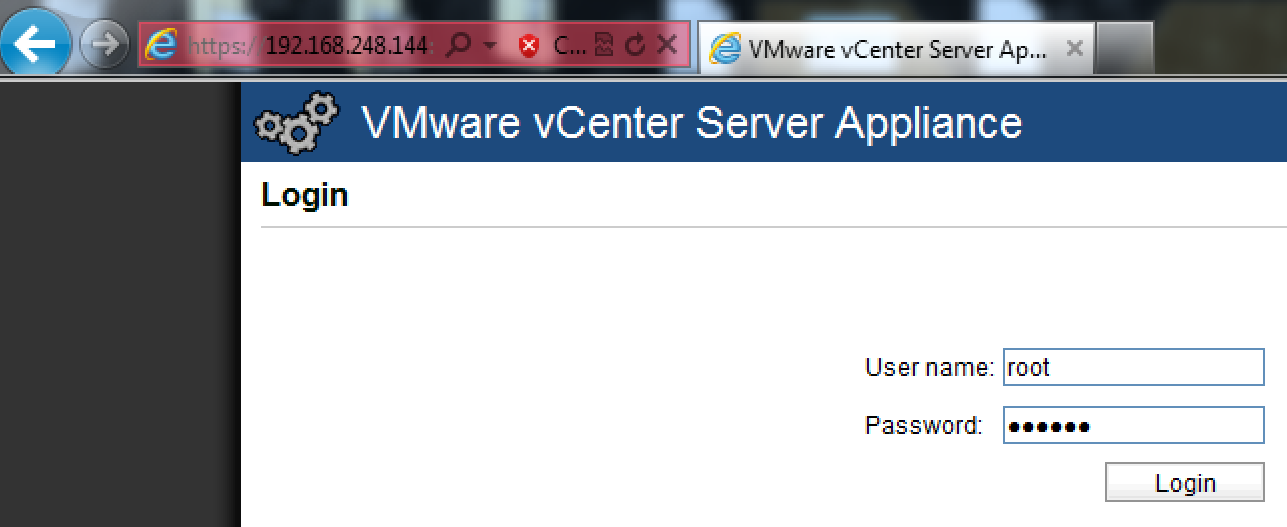
After the appliance is created, navigate to “https://<IP ADDRESS OF SERVER>:5480”. Make sure you do not forget to use https because http will error out. The default username is “root” and password is “vmware”. It should look like this:
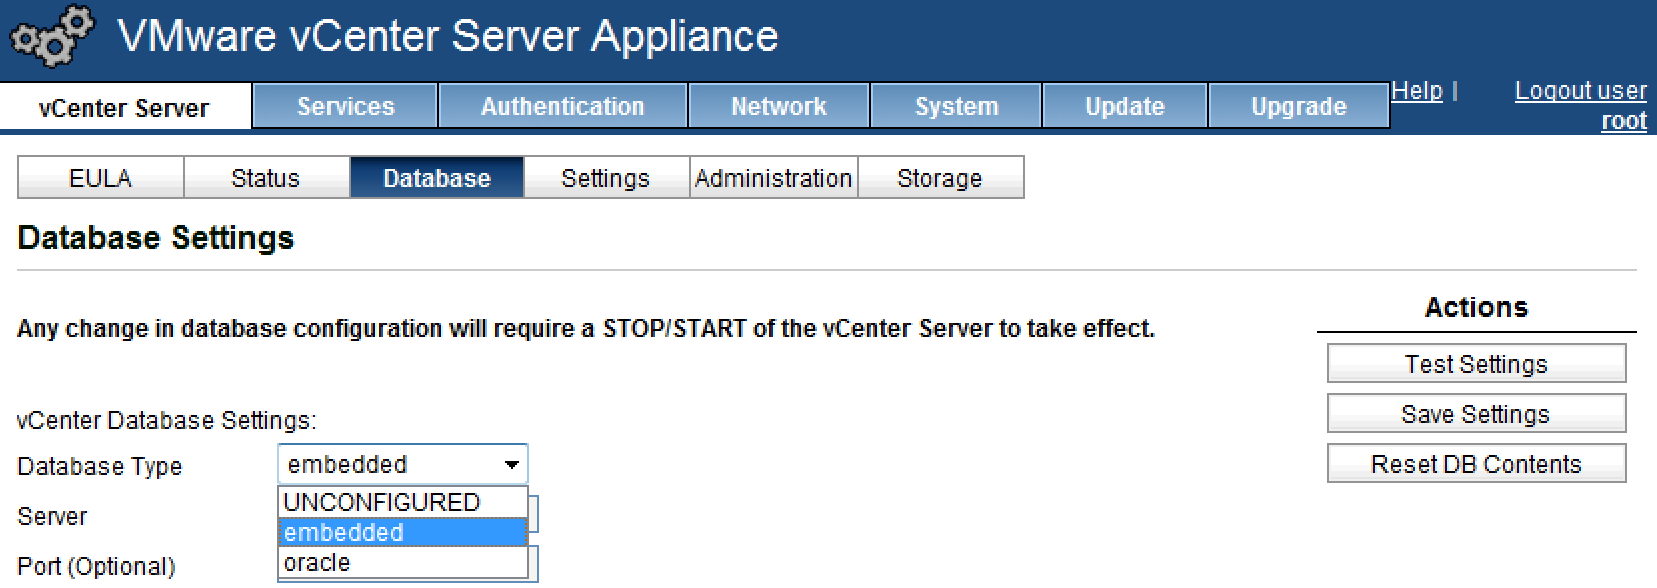
After you are logged in you need to start the database. When installing on a Windows server, you had the option of going with SQL Express and full blown SQL. For this example (and I would imagine about all USMC employments), you will use the embedded database (which is similar to SQL Express). It should look like this:
After you have selected and saved your database type, the next step is to start vCenter. Click the status tab and click “Start vCenter”. When you are done, it should look like the screen that you see below.
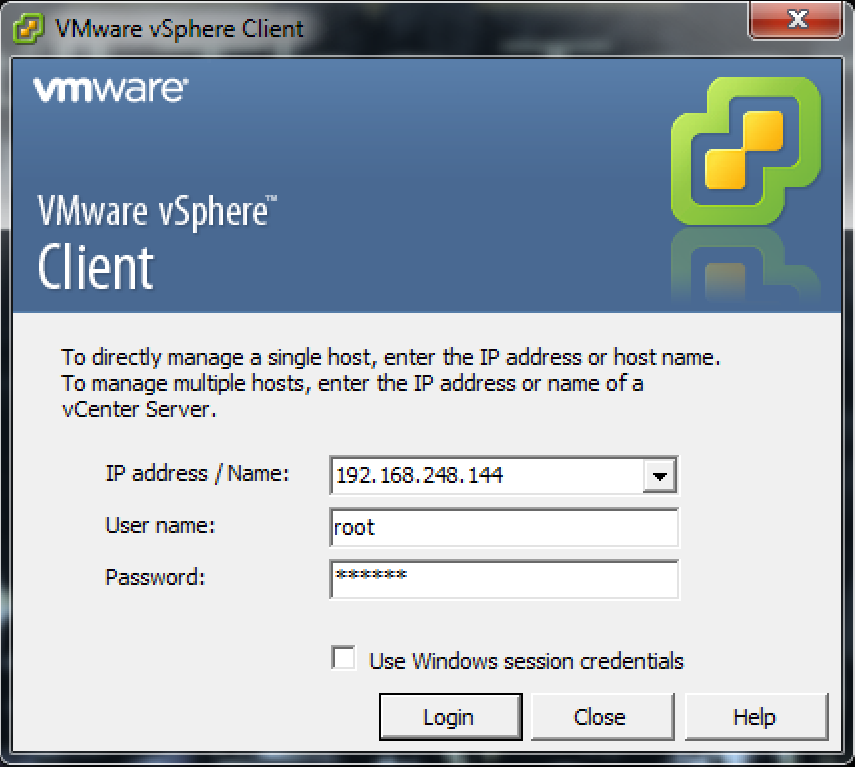
After these steps are complete, open your trusty vSphere application (below).
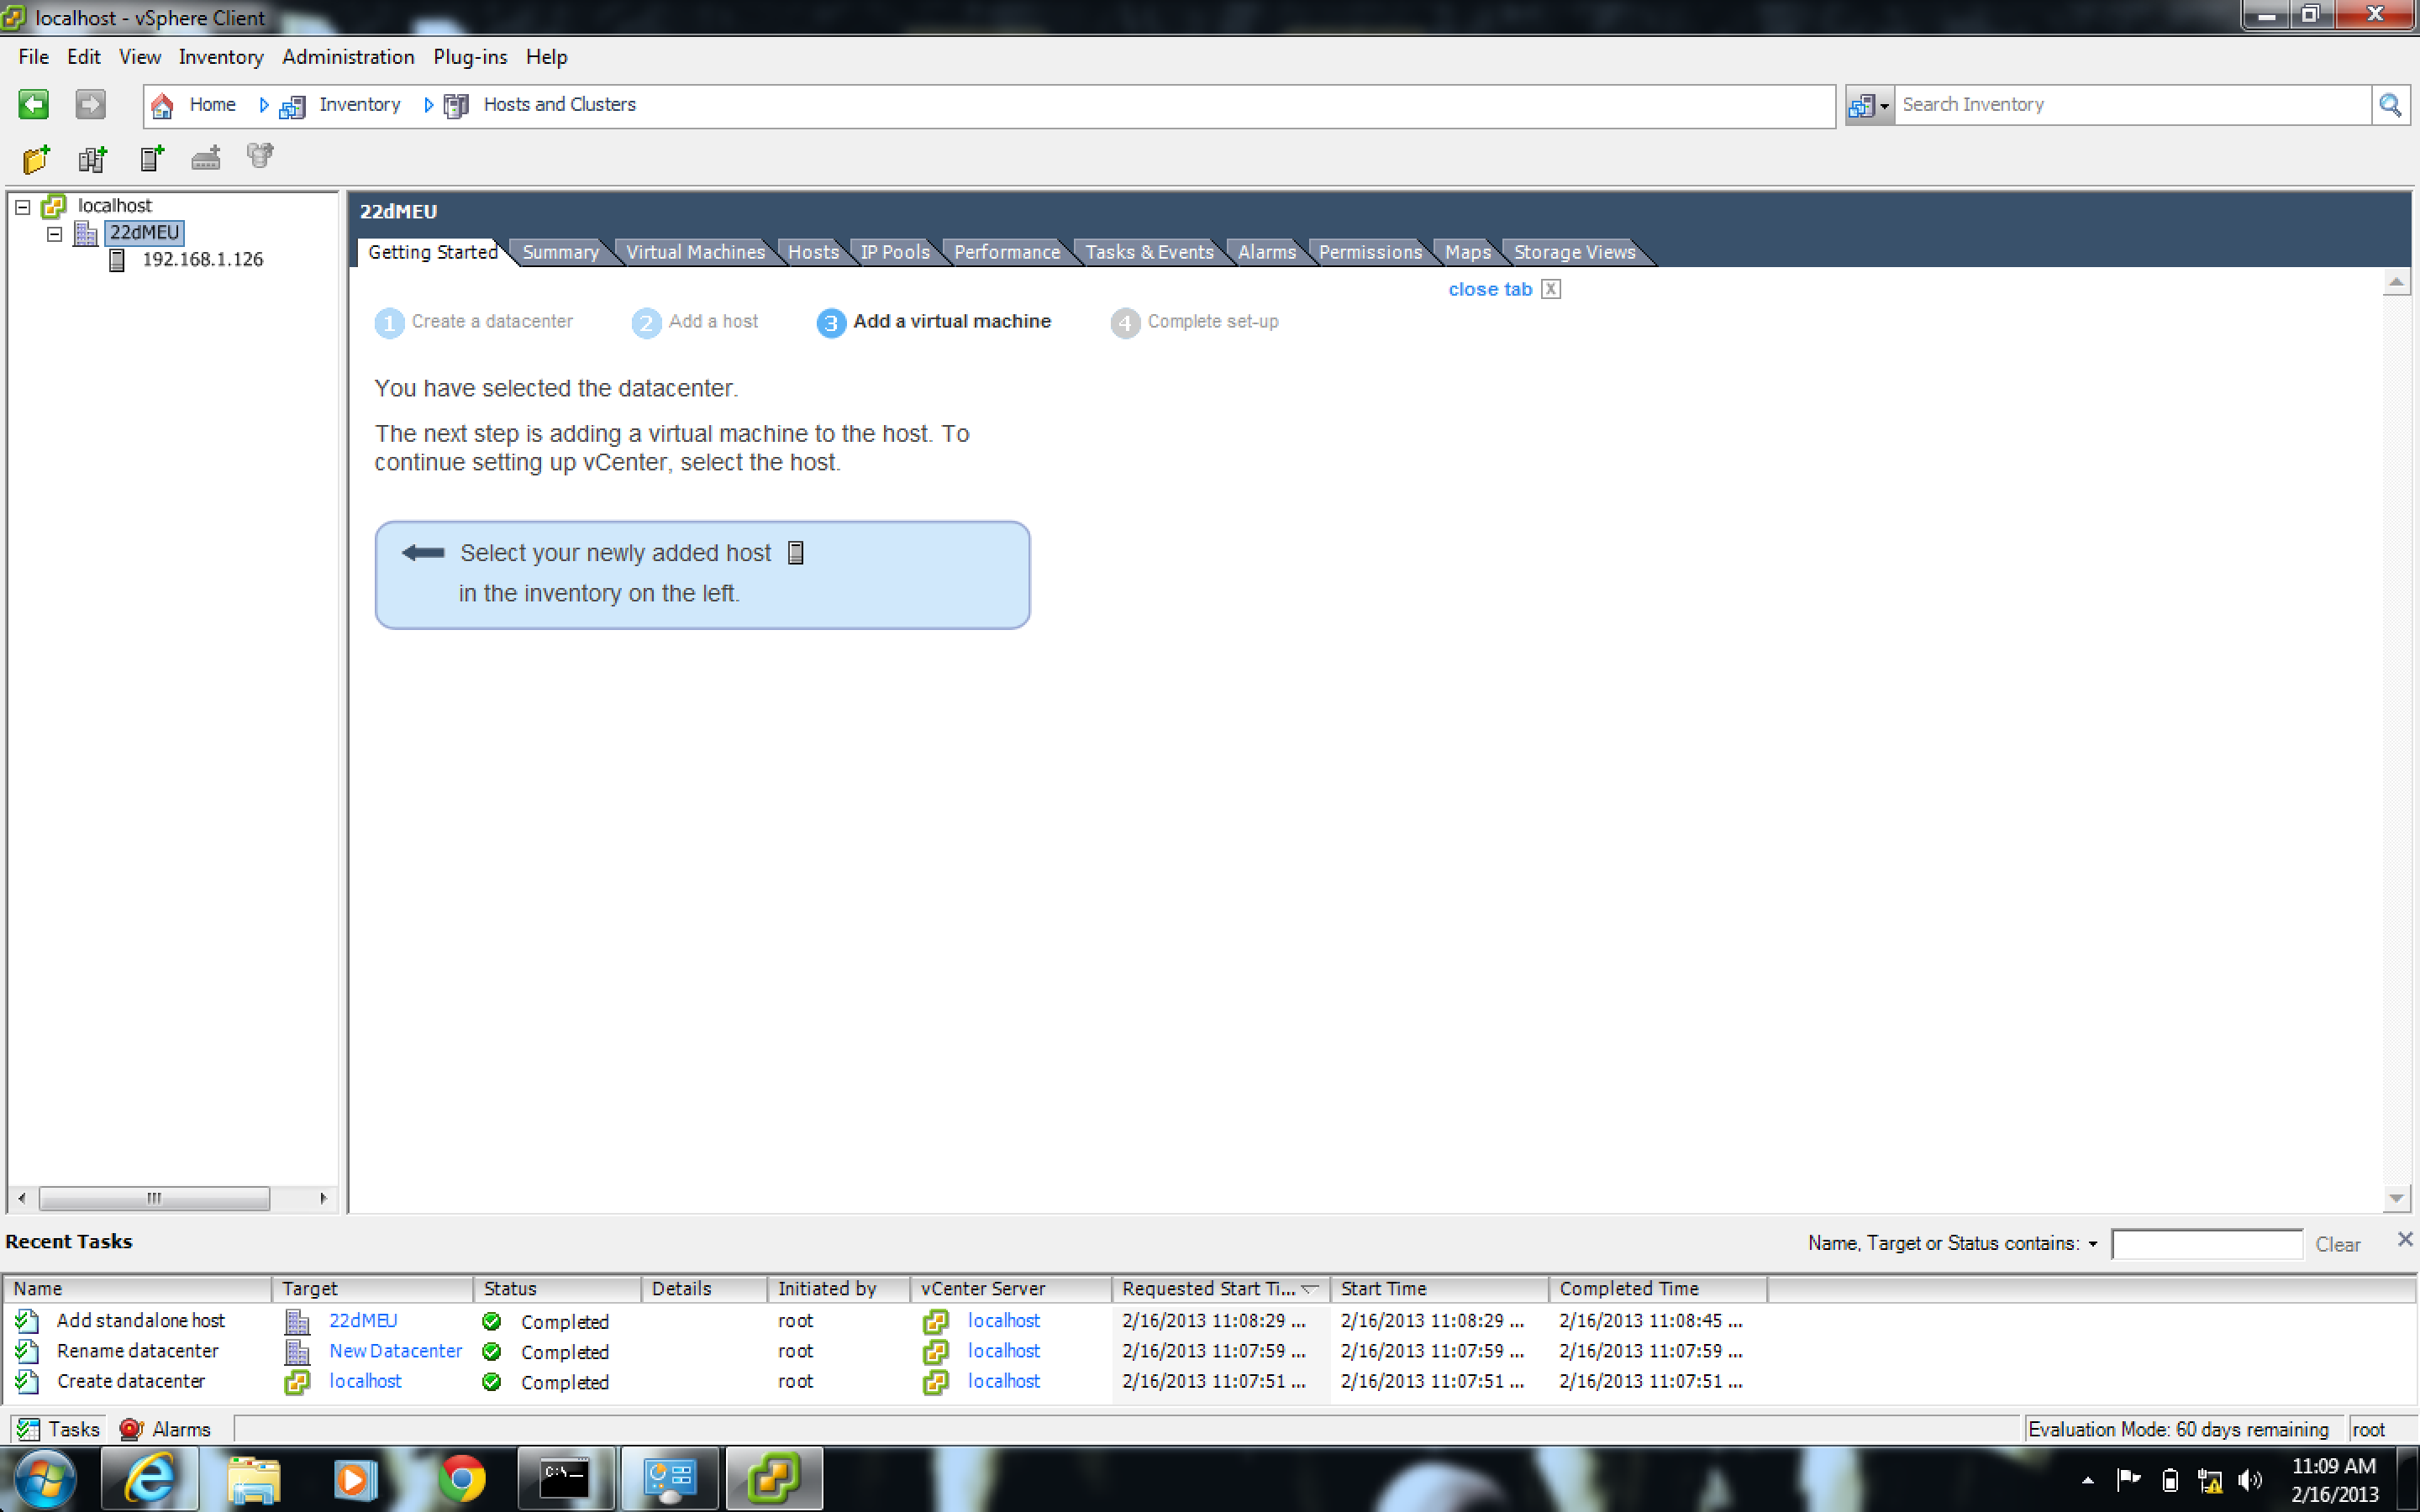
After logging in, you should see the very familiar vCenter screen. On this screen, there is no intelligible difference between the Linux and Windows versions of vCenter. See for yourself:
