VIRL Packet Capture
I finally got around to updating my VIRL to the latest version and there have been quite a few new features added. You can check them all out here. The most exciting for me was the packet capture feature. I just really love the ability to look at the packets and see what’s going on. I wrote a post previously on how you could use the embedded packet capture in IOS and you could have used that feature to tie your VIRL into your workstation or a VM, but this new feature makes it a lot easier. The only draw-back is it is somewhat buried. After watching the VIRL videos a couple of times, I was able to find it. There are a bunch on youtube, which I would highly recommend you check out (not just on packet capture, but on bunches of features for VIRL). Enough premise, lets get to looking at packets.
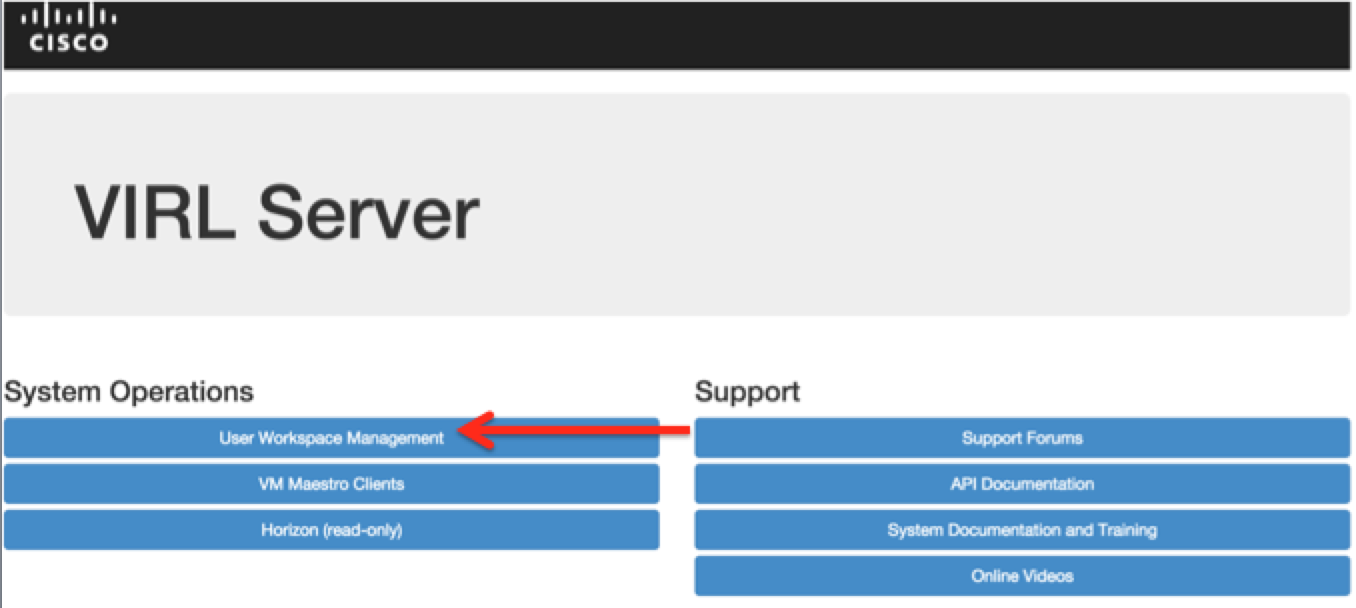
Start by opening a web page to your VIRL server’s IP address. You should see the screen above. Click on the UWM (User Workspace Management) bar.

On the initial (overview) page in your UWM section, scroll down on your screen until you see your sessions. The session I wanted to capture from I called “TEST_4” (yes, I am THAT original). Click on the highlighted topology (session) hyperlink that you want to capture from.
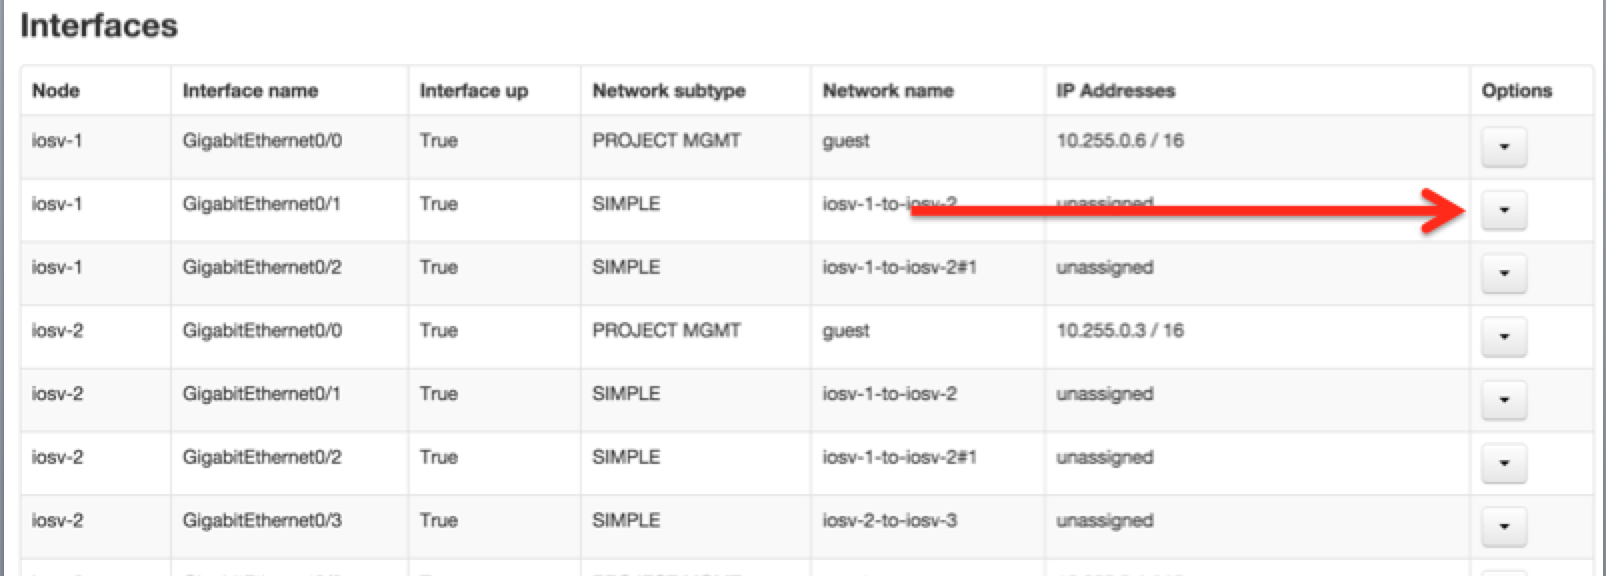
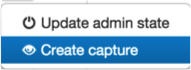
Scroll down on the page until you get to the interfaces section. I wanted to capture on the connection from iosv-1 to iosv-2 (on the Gigabit 0/1 interface), so I clicked the option box for that connection and clicked “create capture”.

On the “create capture” screen you can define some filters or limits, or you can just let the capture run. ***This is the point I ran into an error. If you get the same error, scroll down to the bottom of this post.

After you have started the capture, you can view what you have captured by going back to the overview page in your UWM, click on your session again, and now you should see something under traffic captures. Click the options drop down on the right hand side and select “Fetch captured data”. This will trigger a download in your browser, which will be a .pcap. Open that bad boy with Wireshark and you are looking at packets! Happy hunting.
***For those who tried to create a capture and you got an error, the way I fixed it was to give my guest account admin privileges (I’m sure there is a better way, but this is what I did).
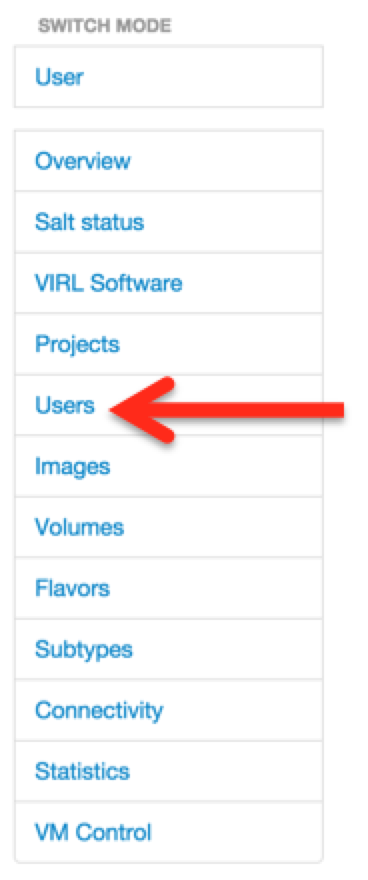
On the left side of your window in UWM, click on Users.
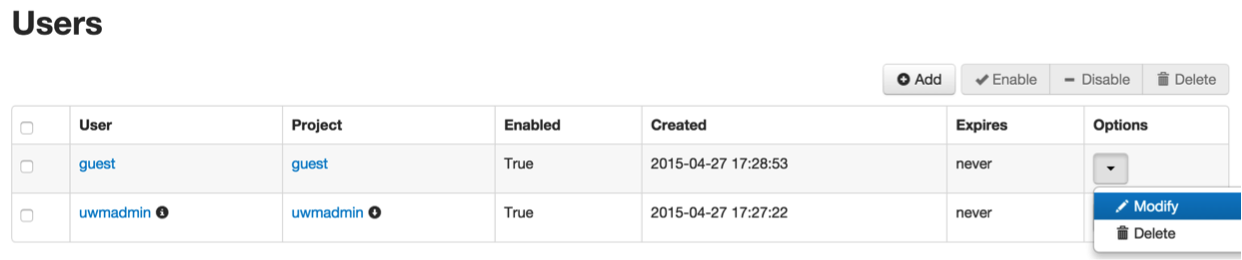
Then on the right hand side, under options, click “modify”.
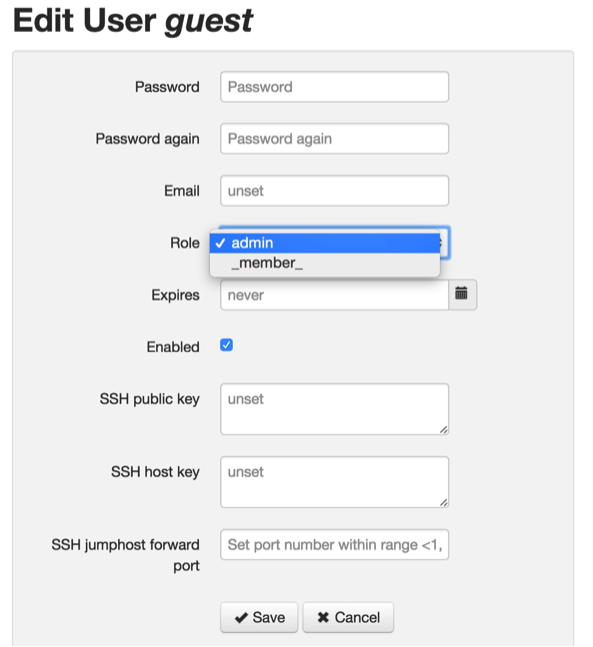
Change the guest Role from “_member_” to “admin”. This did the trick for me. From here, go back through the steps of this post and you should be good.