Storage for VMware – Setting up iSCSI vs NFS (Part 2)
During part 1 of this post we covered the basics of shared storage and the configuration steps for NFS. Now we are going to take a look at iSCSI configuration.

The first thing you want to do is make sure the iSCSI service is started, and iSCSI is enabled on the interface you would like to use iSCSI on. To accomplish this, go under “configuration”. Then select “protocols” and finally “iSCSI”. If the service is not running, click the start button to start it.
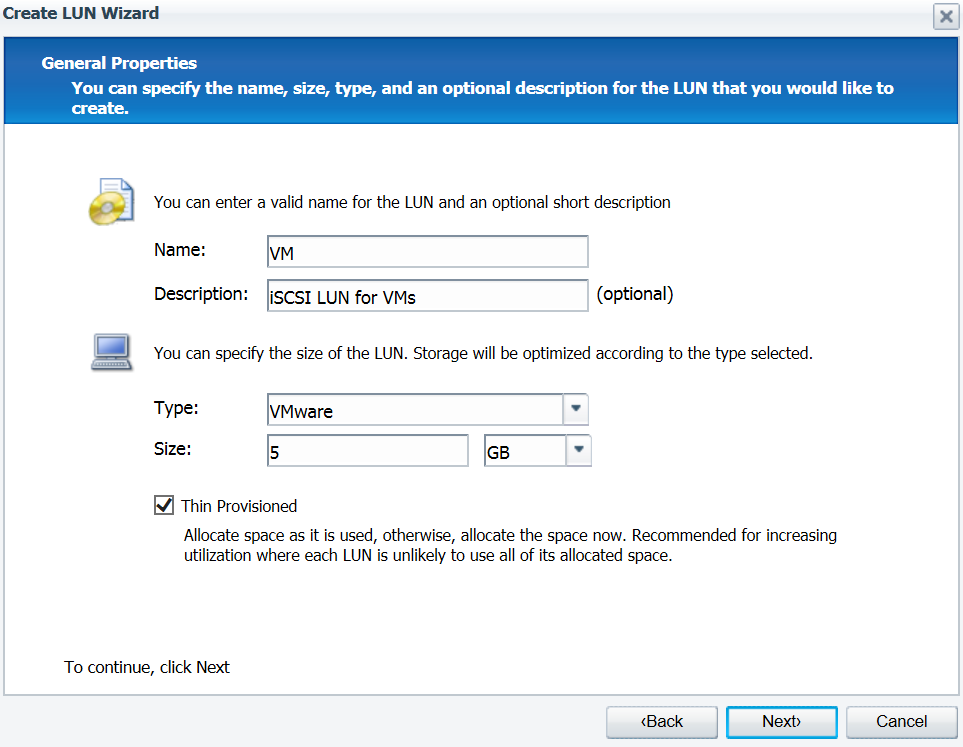
NFS uses NFS Exports to make a volume available, where iSCSI uses LUNs (Logical Unit Numbers) to make volumes available. To cover some terminology, iSCSI uses initiators and targets. An iSCSI initiator allows devices (such as Windows/Linux servers or ESXi) to reach their targets (storage devices, such as NetApp filers). We will start our configuration on the NetApp filer. In the graphic above, I have clicked on LUNs and then “Add LUN”. Give your LUN a name and a description, then choose the type based on what you will be using the LUN for. In this case, we are using the LUN to attach storage to a VMware ESXi host, so we select VMware. As with NFS, select thin provisioning to be as efficient as possible with your storage space.
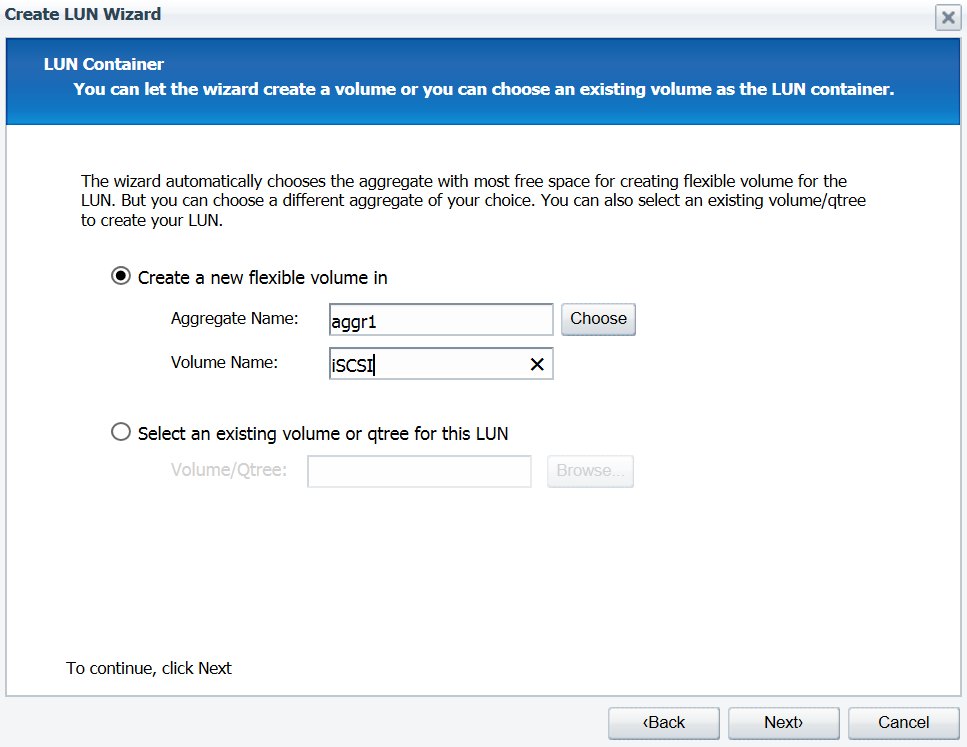
The next screen asks you whether you would like your LUN to use a new or existing volume. In nearly every case, I would recommend that you create a new volume. It is possible to use an existing volume, but there is the potential for unintended issues when you use existing volumes. Unless you have a compelling reason, just create a new volume.
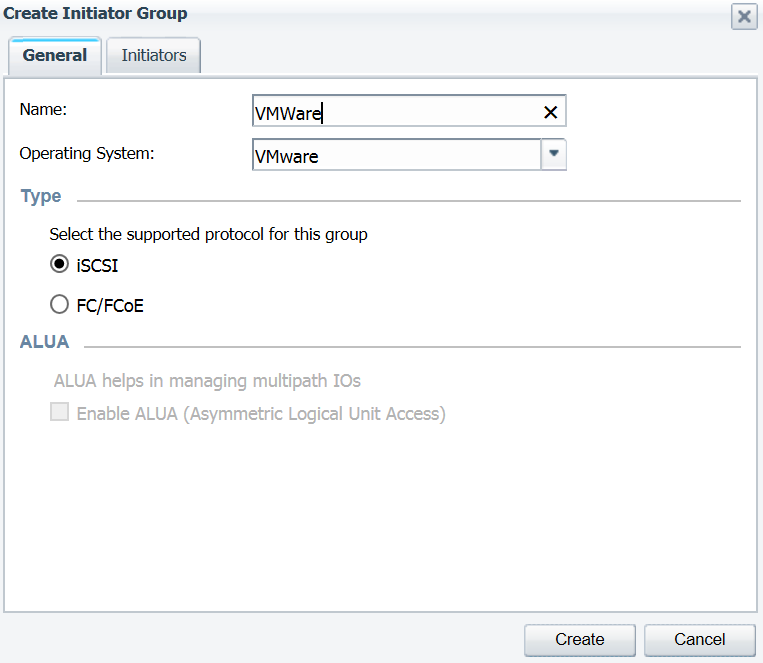
The next thing you will need to do is to create an initiator group. An initiator group is an initiator or multiple initiators, and the purpose of the initiator group is to provide then permission to access a target. Name your group whatever best suits your environment, and select iSCSI. Click on the “Initiators” tab.

Before we can allow our ESXi hosts access to our NetApp filer, we are going to need to enable iSCSI on our ESXi hosts. Because our servers do not come with hardware iSCSI initiators, we will need to use software iSCSI. On your ESXi host, under the “Configuration” tab, in the “Hardware” box, click “Storage Adapters”. Then click the “Add” hyperlink.
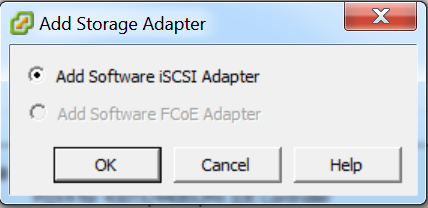
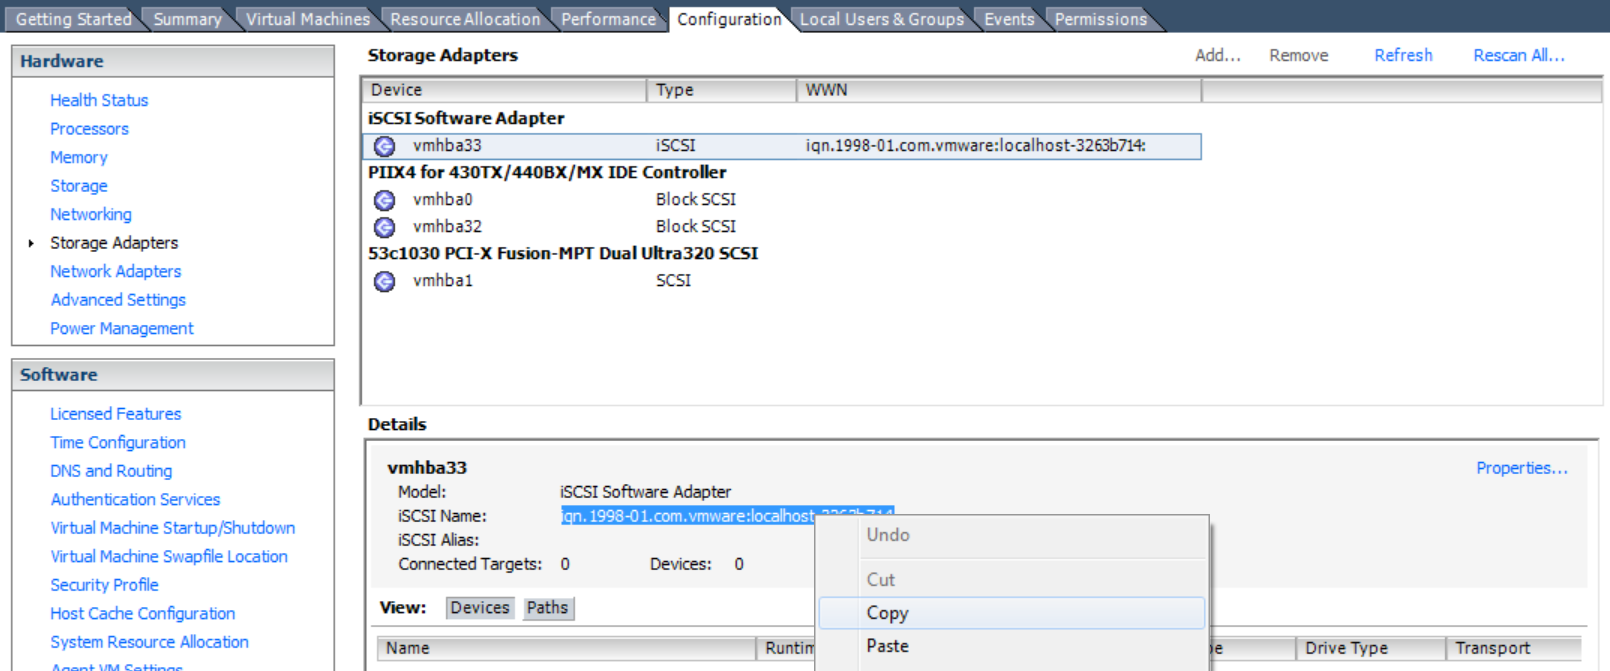
After selecting add a storage adapter, you are going to choose software iSCSI. Then on your storage adapter page, scroll down to the bottom and copy the iSCSI name. The name you see is an IQN (iSCSI Qualified Name). It is a way for you to uniquely identify your iSCSI endpoint, and we will need to add it to our initiator group on our NetApp. Now we are going to head back to the filer.
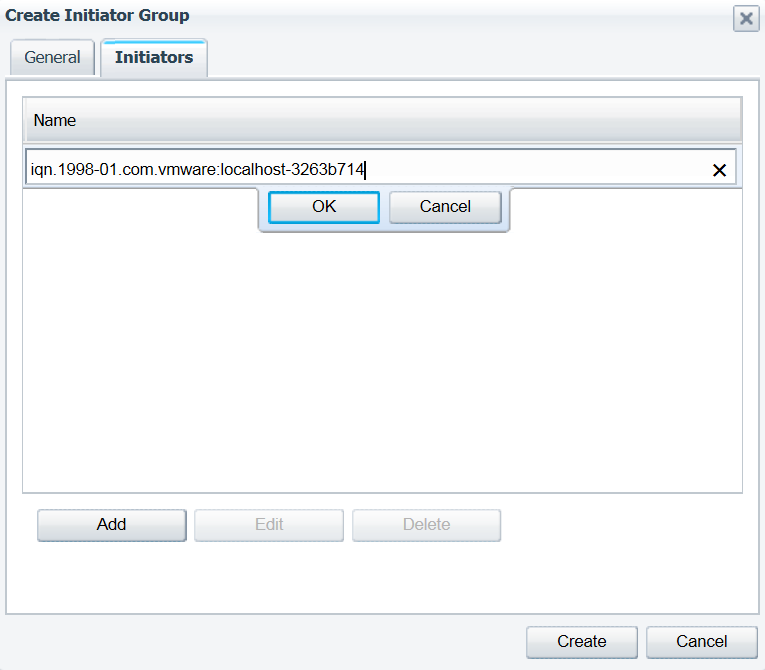
Paste the IQN you copied from your ESXi host into the initiator group on your NetApp filer. When you are configuring a new virtual infrastructure, you are going to repeat this process for every ESXi host you have (so they can all access the same LUN, which would be a requirement for vMotion).
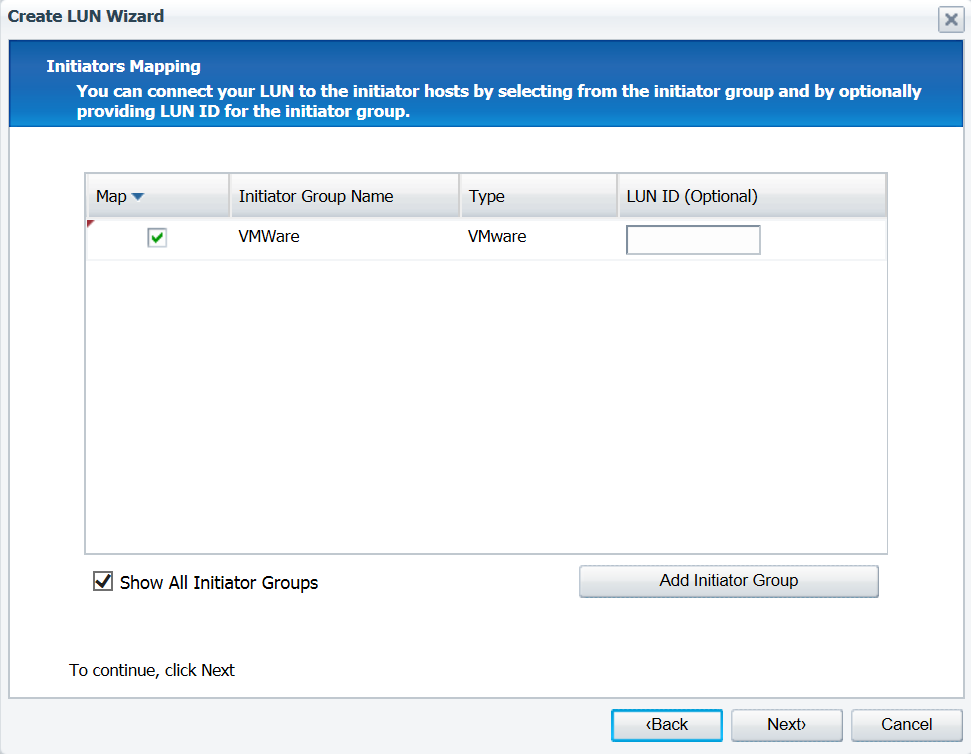 The next step in your LUN creation is to map your LUN to the initiator group that we just created. Click the check box next to your initiator group, and click next.
 As you can see from the graphic above, we have completed the LUN creation wizard. This concludes the necessary steps on your NetApp. Now we will head back to our ESXi host to finish the configuration.
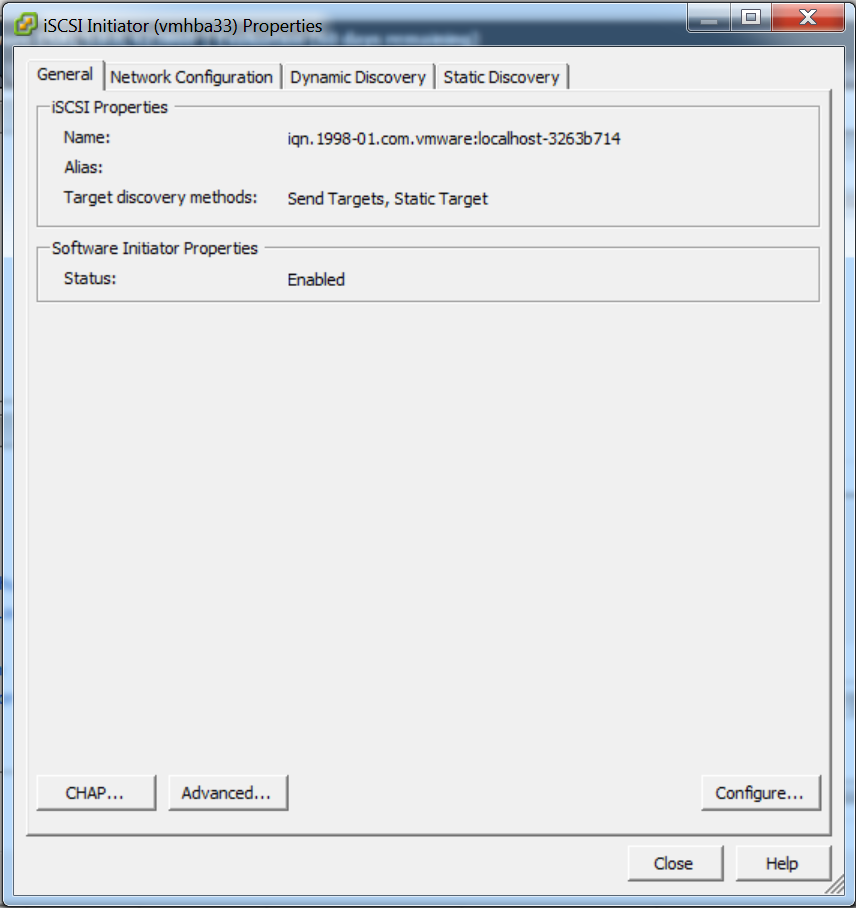
 On your iSCSI adapter, under the details screen, click the “Properties” hyperlink.
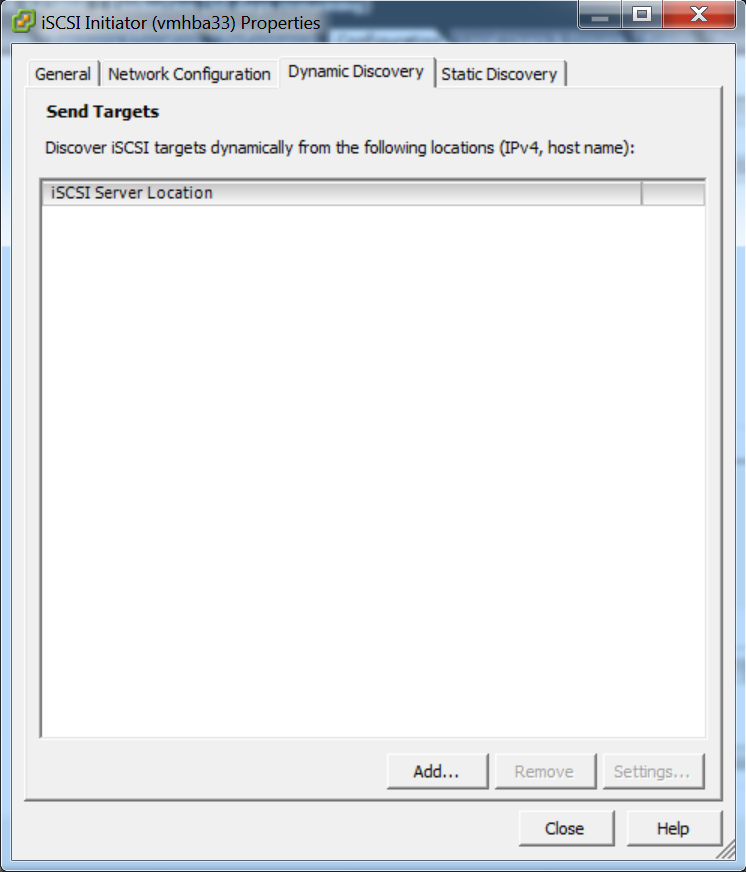
 Click the “Dynamic Discovery” tab.
 Click the “Add” button.
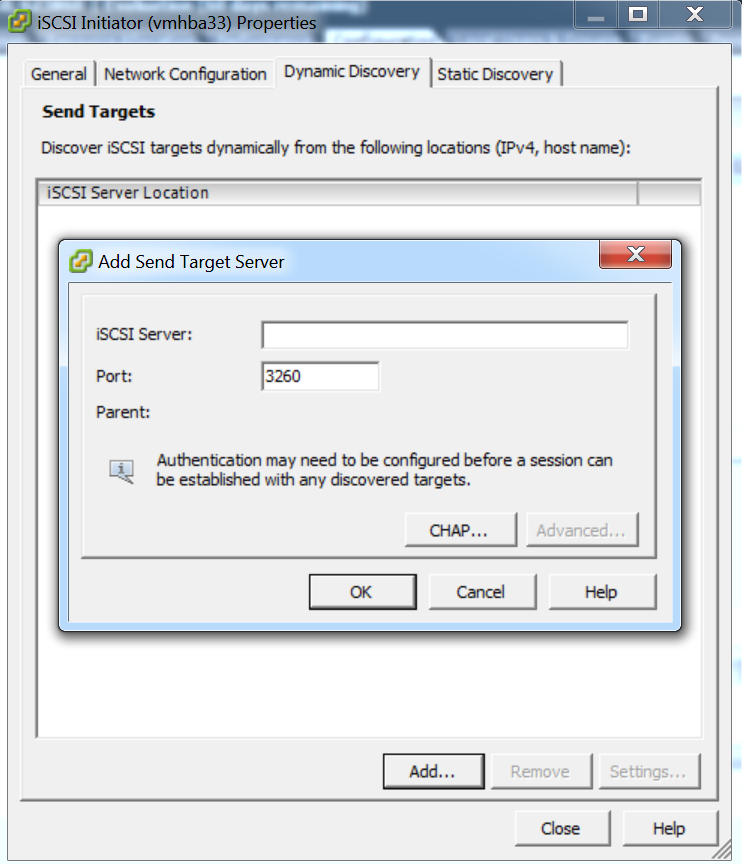 In the iSCSI server field, type in the ip address of your NetApp filer. Do not change the default port. Click “Ok”.
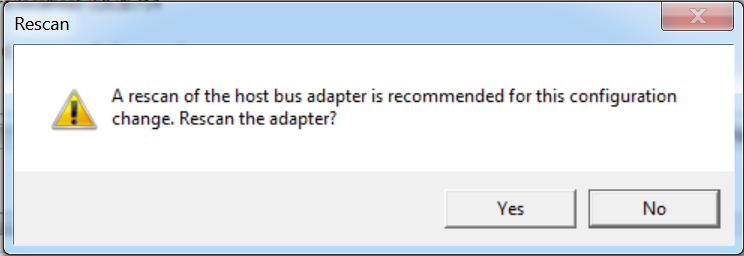
Click “Yes” to rescan adapters.
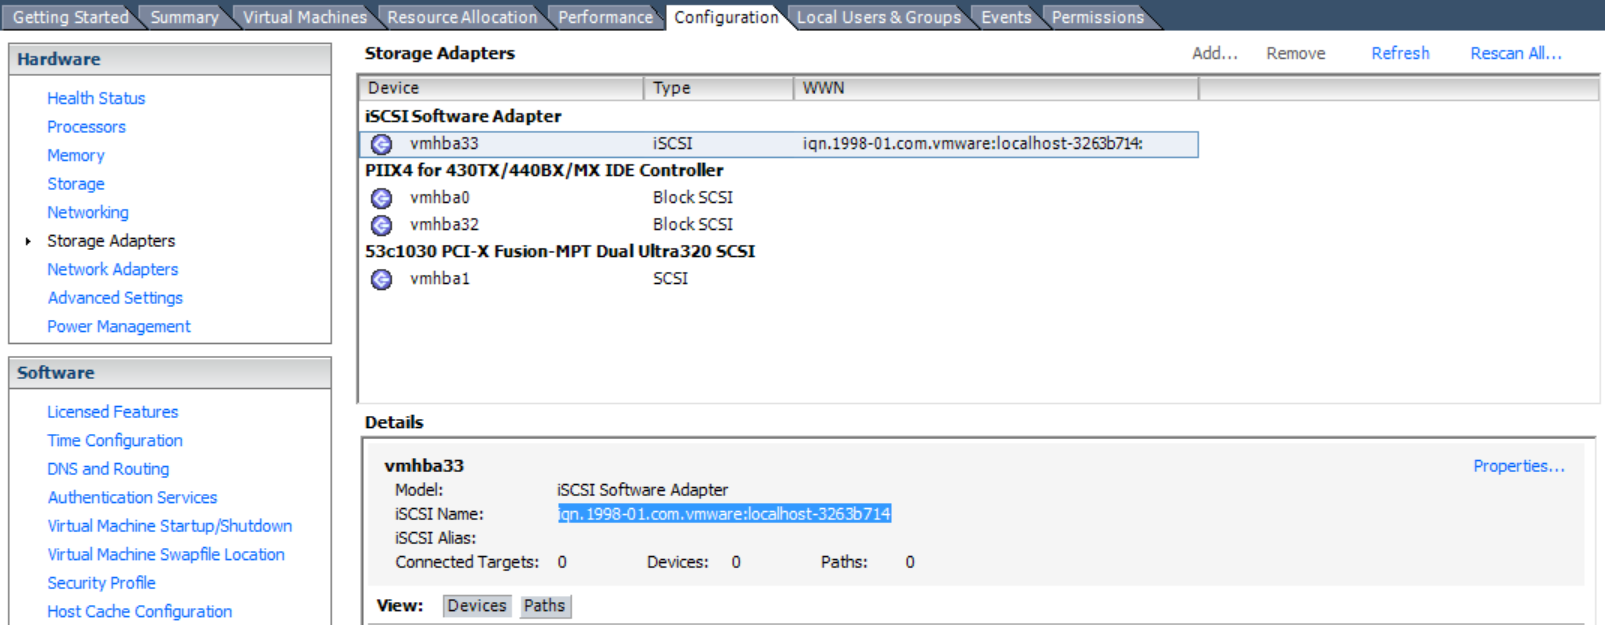
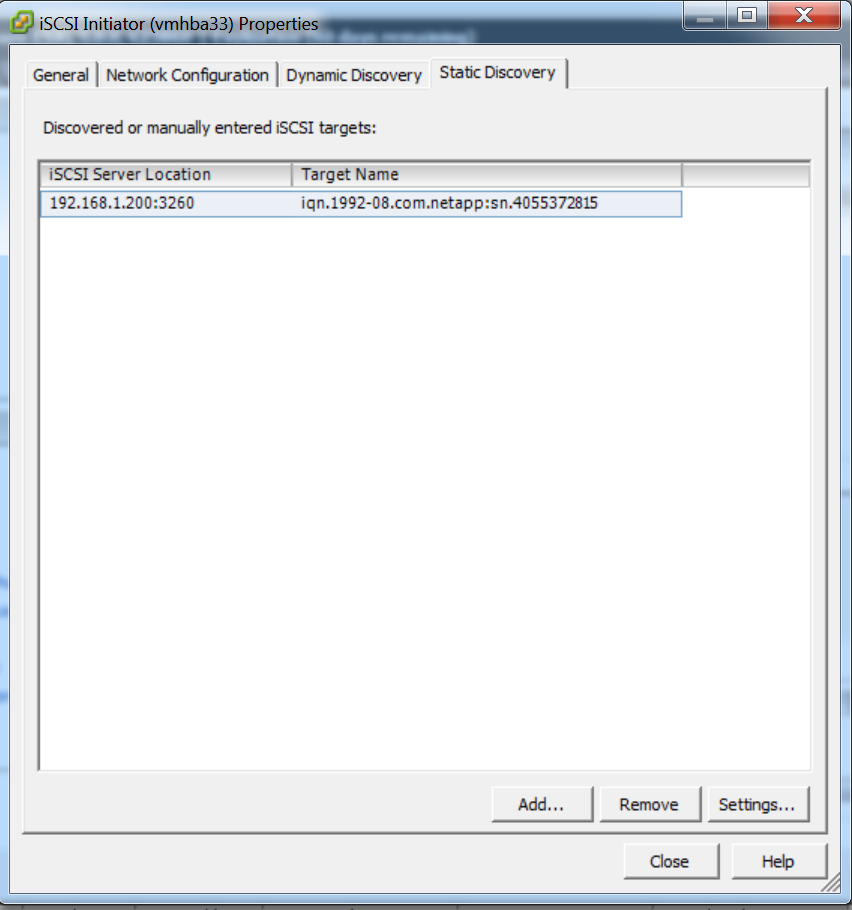 At this point, your ESXi host should have discovered the IQN (like in the graphic above). Click “Close”.
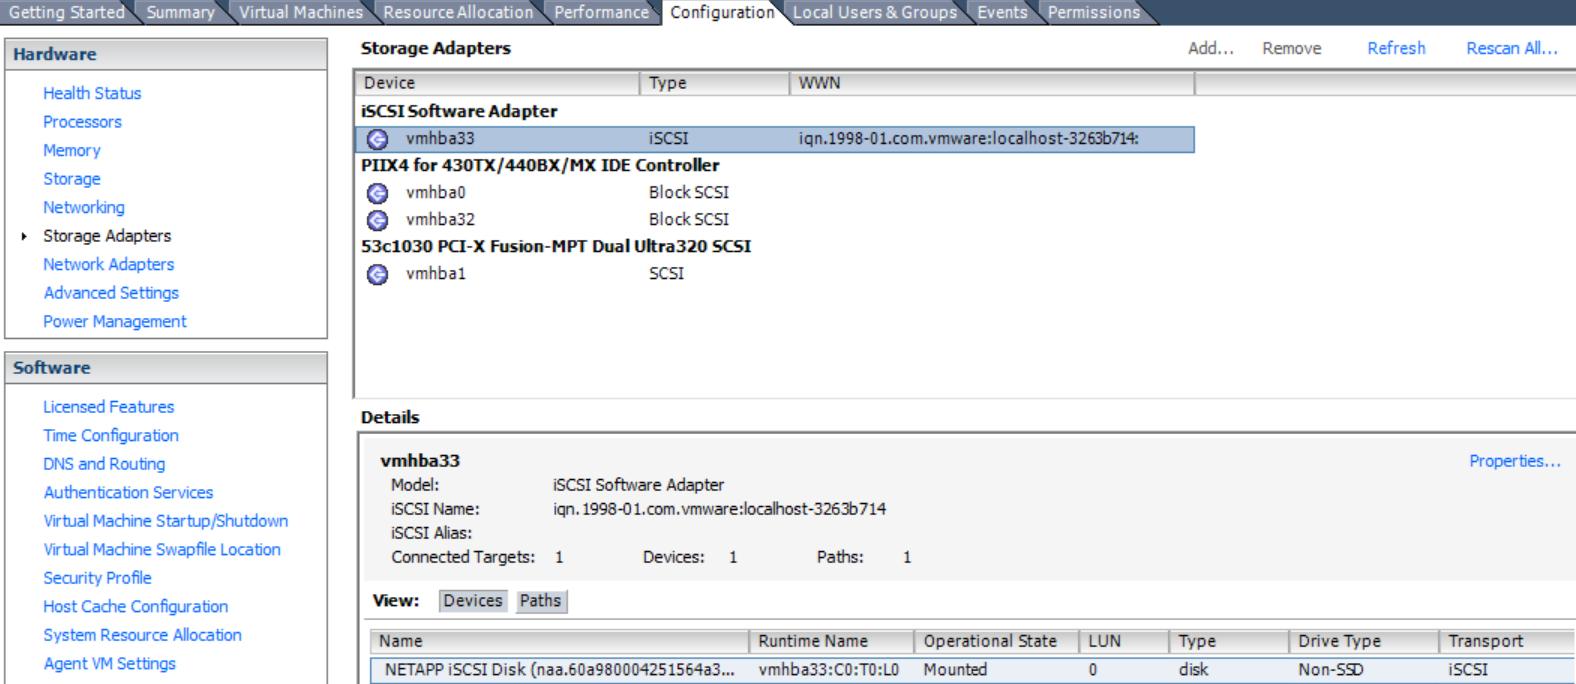 Looking at the graphic above you should see for the first time a connected target and a path (look at the bottom of the graphic).
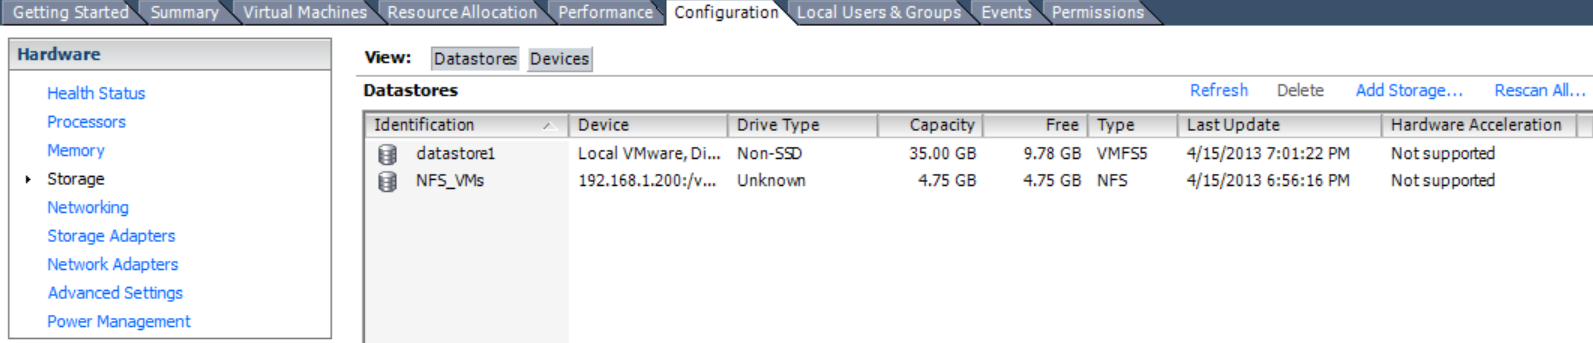 Now that we have an iSCSI target available, we need to find and mount the LUN we created. Click “Add Storage”.
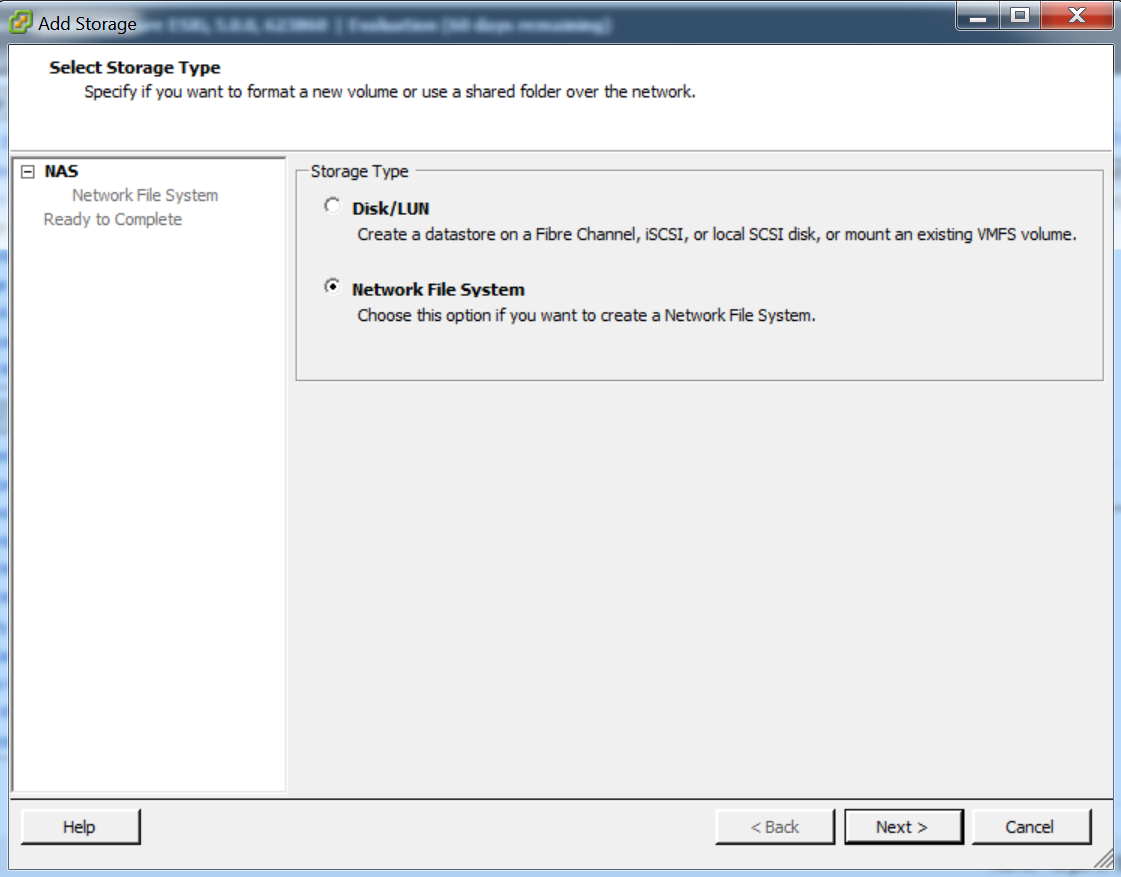
This time we are going to add a “Disk/LUN”. Click “Next”.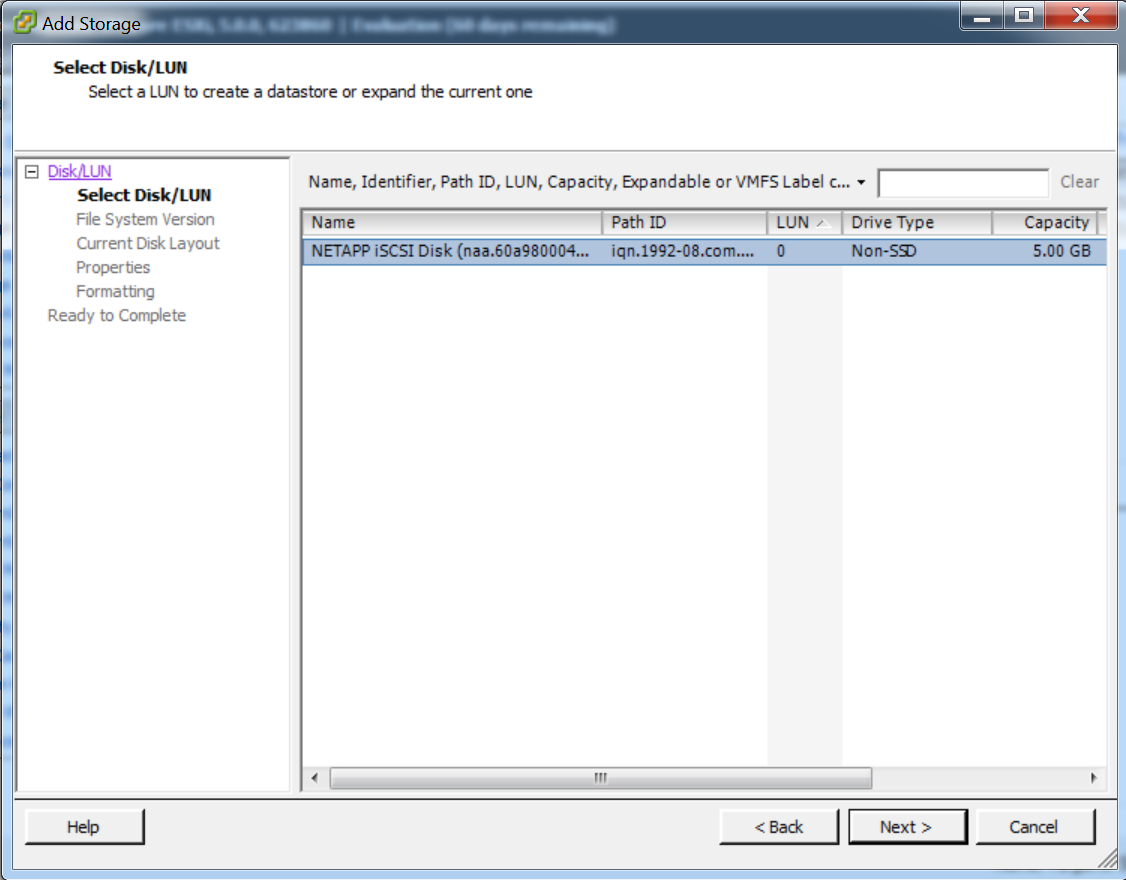 Select the NetApp LUN we located in the previous step and click “Next”.
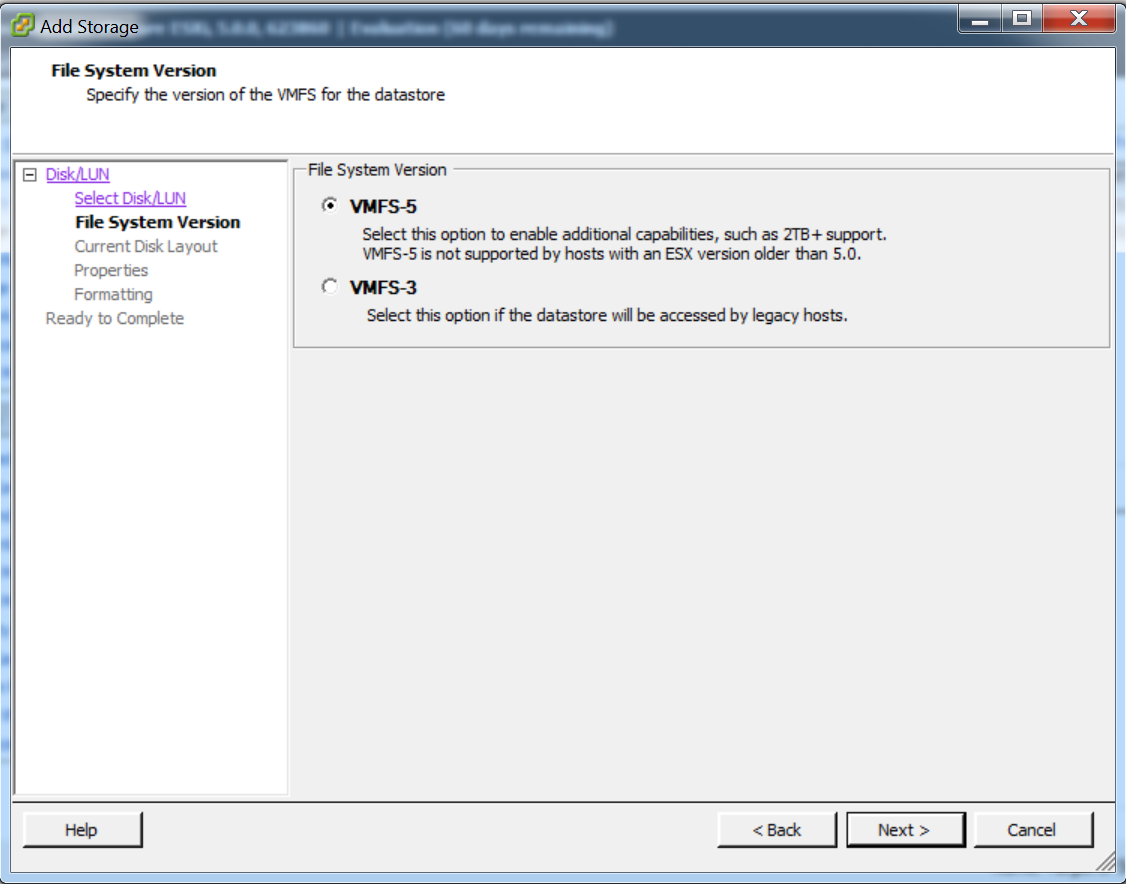
Now we have to format the new disc. Choose “VMFS-5” and click “Next”.
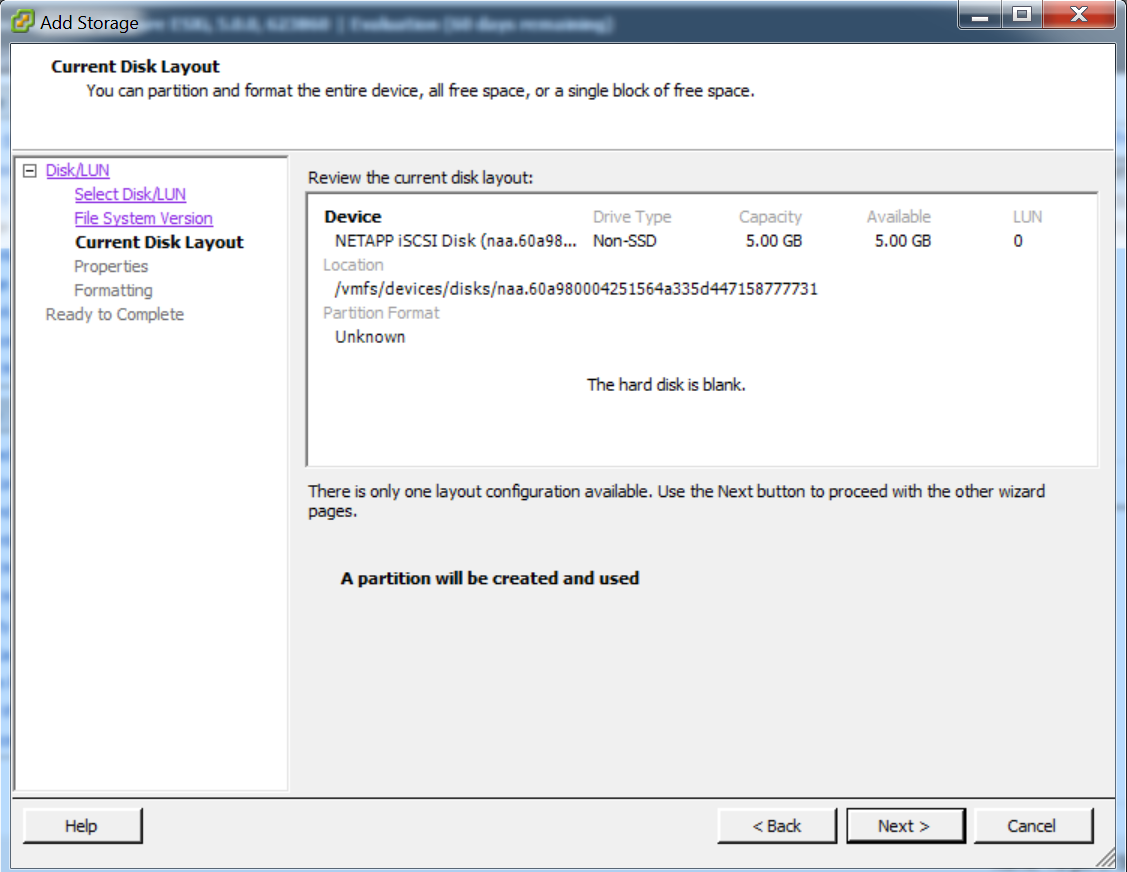
Click “Next” to create and use a partition.
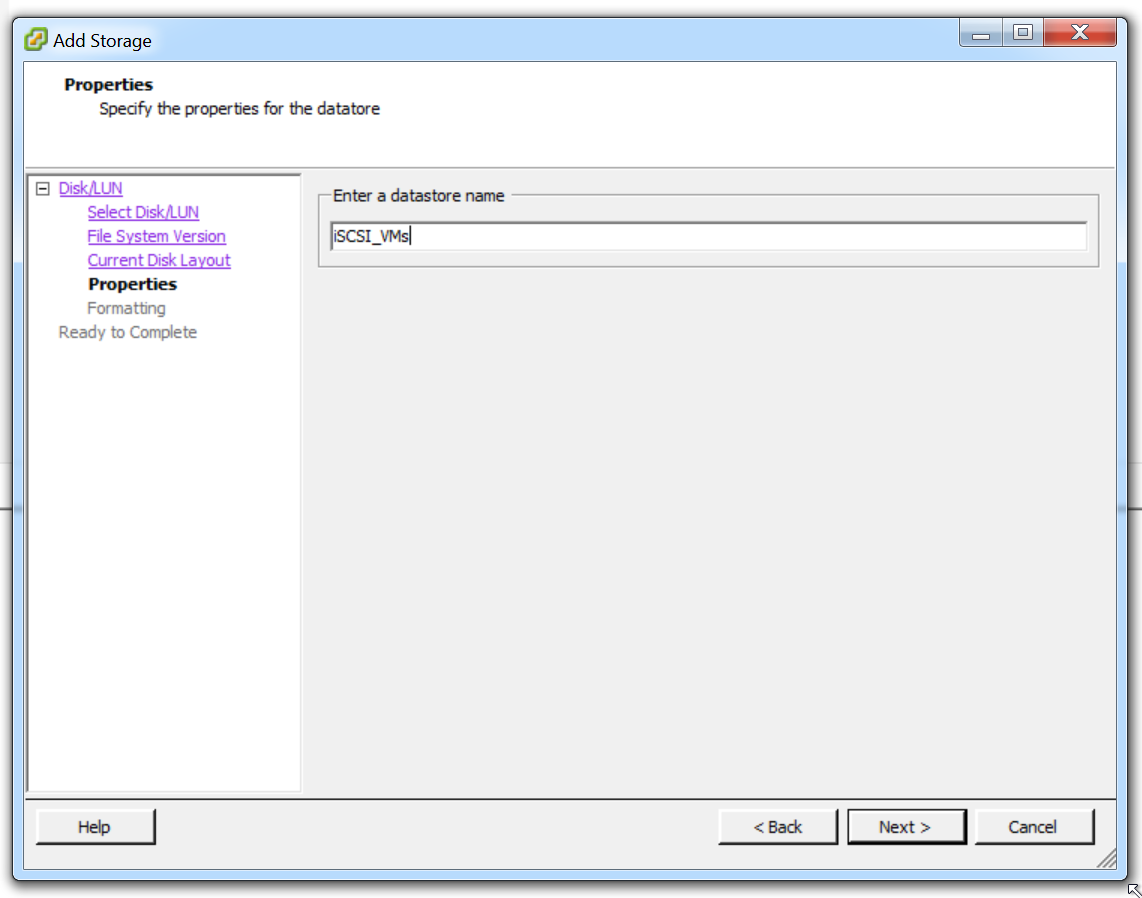
Enter a datastore name. Just like when configuring NFS, be very careful about your datastore names. They are case sensitive and must match on all ESXi hosts if you are using the datastore for VMs and want to be able to vMotion them.
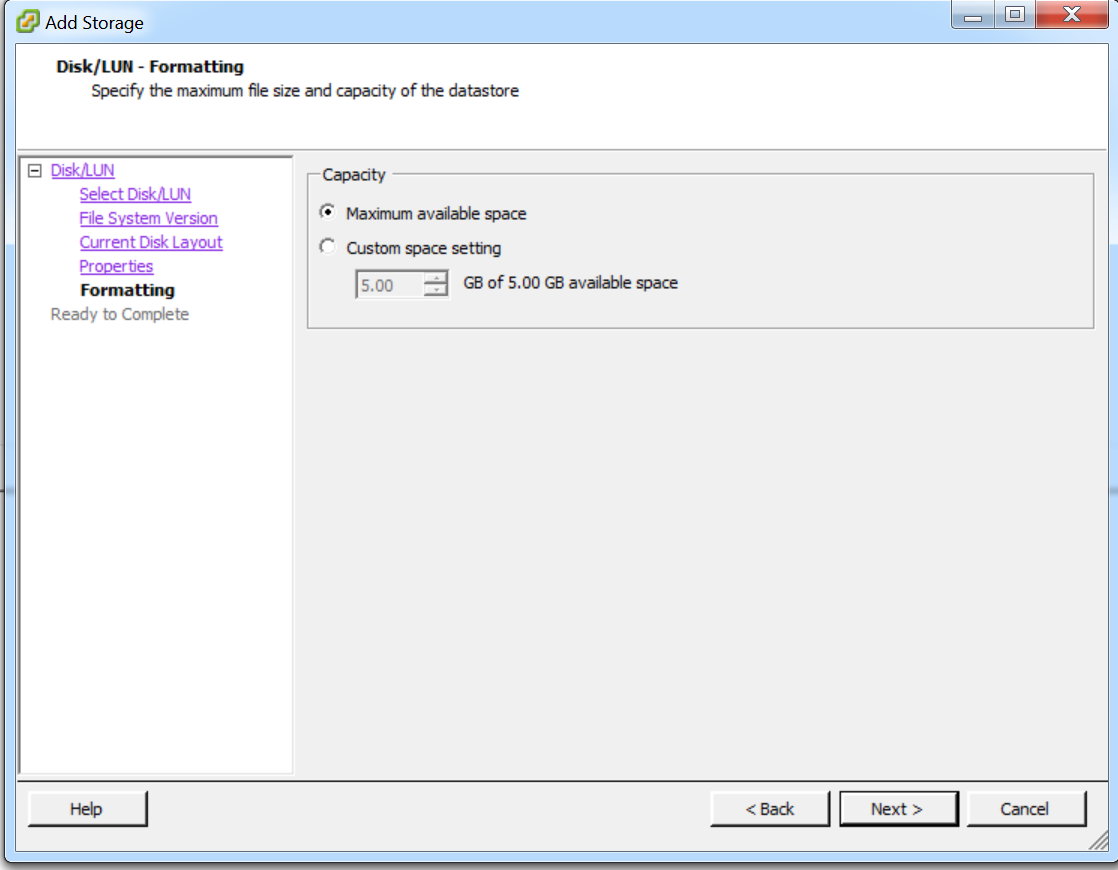
Next you will choose how much of the available space you will format for. I generally only use a LUN for a single purpose, so I keep the “maximum available space” setting. Click “Next”.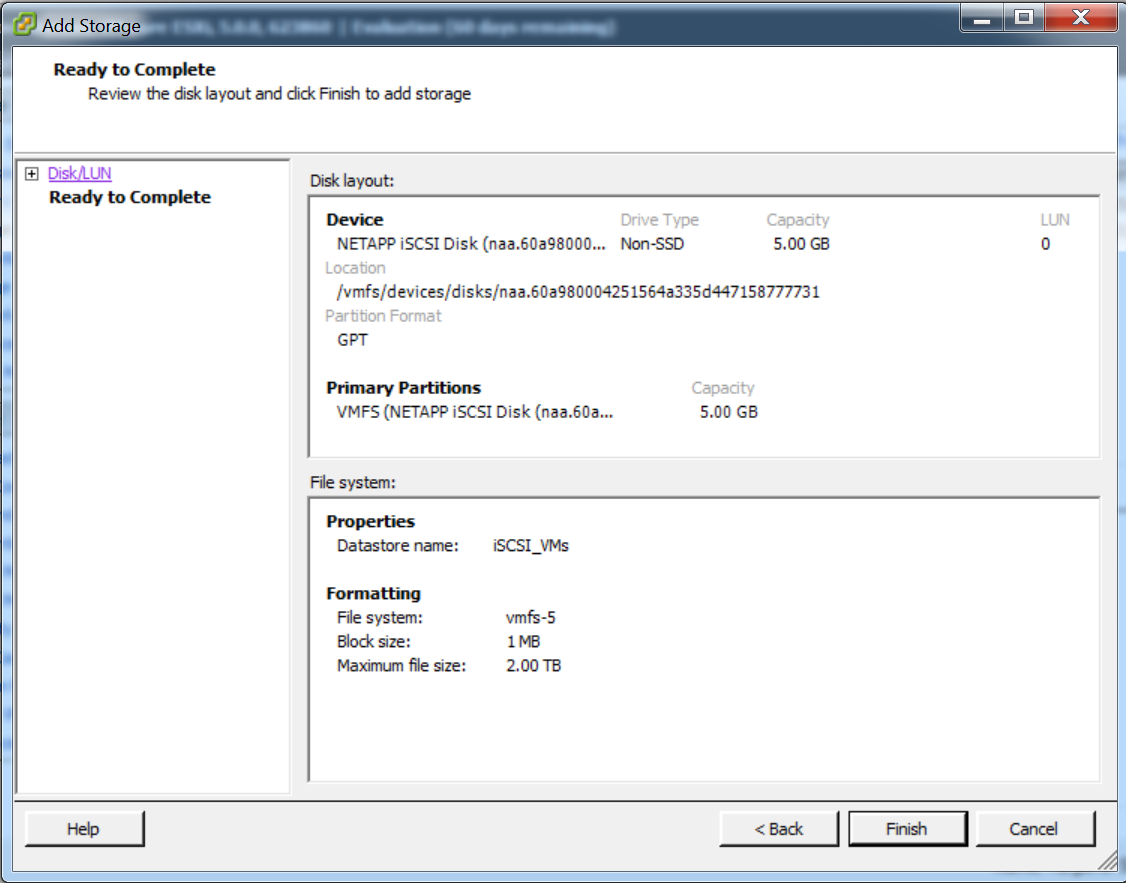
Click “Finish” to complete the process.
That completes the process for iSCSI. The concepts are somewhat similar to NFS, but there are more steps in the configuration. Here is a quick recap:
- Ensure iSCSI service is running on NetApp.
- Create a LUN.
- Create an Initiator Group.
- Move over to your ESXi host.
- Create a software iSCSI adapter.
- Copy the IQN of your new iSCSI adapter.
- Move back over to your NetApp.
- Paste your initiator IQN into your Initiator Group.
- Finish the creation of your LUN.
- Move back to your ESXi host.
- Dynamically discover the NetApp IQN from your iSCSI adapter.
- Map your newly created LUN.
- Format the LUN.
I hope this has provided you an idea of the relative difficulty of setting up each protocol so that you can make an informed decision about which one you would like to have your Marines use.